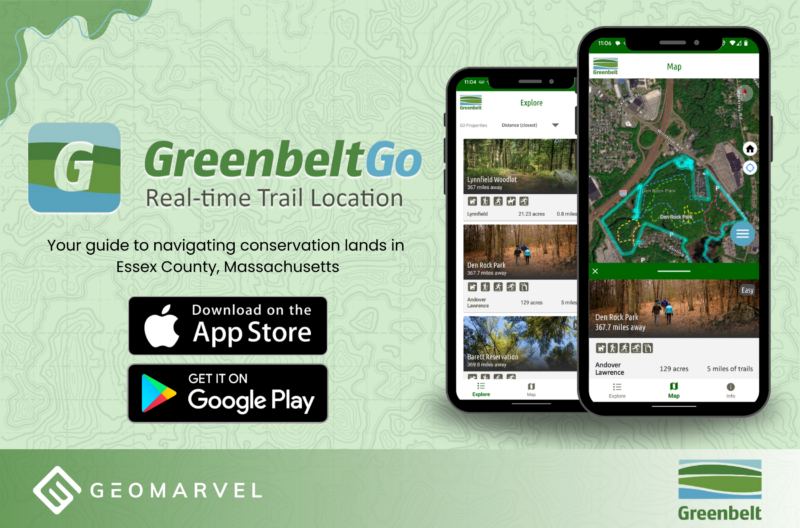
AppStudio for ArcGIS is a tool to build cross-platform apps to be published in app stores or deployed within an enterprise. Build an app from scratch or leverage one of the prebuilt templates. AppStudio for ArcGIS puts the power in your hands, with custom branding and no development skills required!
New to AppStudio for ArcGIS? Download AppStudio for ArcGIS Desktop here.

Building an App with the Map Tour Template
In this tutorial, we’re leveraging AppStudio for ArcGIS to build a map tour app highlighting our Colorado Ski Resorts web map tour.
- Open the desktop version of AppStudio for ArcGIS
- Click the “New App” button to create your app
- Click the “Templates” ribbon to reveal all available templates
- Click the “Map Tour” template, then click “Create”
- With the template loaded, click “Settings” to provide more details about the app
- Give the app a title, summary, description and tags
- Click “Apply” to save the settings
Next we’ll add some images to our app to customize the end user experience. Giving the app appropriate icons and images helps make the purpose of the app clear.
- With the AppStudio settings still open, click the “Resources” tab
- Add an app icon, overlay image and background image
- Set the background color
- Click “Apply” to save changes
- Navigate to the “Properties” section
- Under the “Start Screen” tab
- Choose the app background image by clicking the folder icon to the right
- Adjust fonts and text sizes as desired
- Move to the “Gallery” tab
- Optionally toggle off the “Show Gallery” option
- Copy and paste an existing map tour ID
- Determine the “Sort Type” of the app (here we’ve chosen to sort by title)
- Click the “Tour” tab
- Show/hide the basemap switcher
- Adjust the text background color as desired
- Continue exploring the range of custom field options available here
- With your chosen custom settings, click “Apply” to complete changes
Navigate to the “Capabilities” section, this is where you can determine the capabilities of the app.
- Should the app capture your location?
- What kind of connectivity should be leveraged to pinpoint the phone’s location?
- Where should files be stored?
- Incorporate biometric authentication?
- Choose which multimedia the app will have access to – will the app require audio, camera or microphone to perform any tasks?
- Set notification settings – will the app have local or vibration notifications?
Moving on to the “Devices” section, where we can set exactly how the app should appear and respond on various device types. We’ll keep the defaults here, but check the option for landscape viewing on mobile phones.
The “Licensing” tab is important to generate a Client ID, and for integrating ArcGIS Runtime. More on licensing your app here.
With all the app settings in place, it’s time to test and explore the app.
- Close out of the settings window
- Click “Run” to preview the app on screen
- Click “Get Started” to start exploring the app
Now it’s time to run through the user experience of the app. This preview mode lets you visualize all the app settings that have been applied. As we explore the Colorado Ski Resorts app, we can see how the map tour ID has brought in all features and details from the original map tour.
Clicking the three lines in the top-left corner of the app will reveal a few additional app settings. Adjust the font size, learn more about the app, and optionally clear any offline data.
Once your app is ready, upload it to your ArcGIS organization.
- With your app selected, click the “Upload” button
- Determine the sharing settings (Not shared, My organization, Everyone)
- Optionally add a comment
- Click “+ Upload”
Note that the upload button now states “Update”. Follow this same process after making any in-app changes, then click the update button to upload the latest version of the app.
Now let’s take a look at the app from an actual mobile device. Before you can view the app on a mobile device, be sure to download and install AppStudio Player.
Open AppStudio Player to view all of your created AppStudio for ArcGIS apps.
- Click the app to open
- View the app’s details, then click “Download” in the bottom corner
- Once downloaded, return to the app list
- Click the play button to run the app
Now it’s time to fully explore the app to ensure everything is working properly. And once you’re ready to close the app, simply click the button floating on the left side of the screen to bring up the options menu. From this menu, you can refresh the app, take app screenshots, connect a remote console, or exit the app.
This quick tutorial has shown you a few important aspects of building an app with the Map Tour template in AppStudio for ArcGIS. For more information on AppStudio for ArcGIS, check out Frequently Asked Questions on AppStudio for ArcGIS.
Get Support
In search of a custom-built app for your organization? Look no further, GeoMarvel builds custom applications to fit your business needs. Reach out to our industry experts to start a conversation about your unique needs today.


