ArcGIS Collaborations allow users to share and receive GIS content, maps, apps, and more with a number of ArcGIS organizations. Partnered Collaborations and Distributed Collaborations are the two types of collaborations that ArcGIS organizations can take advantage of. For this demonstration we will focus on Distributed Collaborations, demonstrating how to set up and configure a Distributed Collaboration, and how to share data between ArcGIS Online and ArcGIS Enterprise environments.
Distributed Collaborations provide a way to establish a trusted connection with another ArcGIS organization, including ArcGIS Enterprise and ArcGIS Online. Once established, the collaboration allows you to easily share your data and content between organizations. This process allows data to be made available across multiple organizations, and can also help with managing field data collections. This type of connection helps to establish trust with other ArcGIS Enterprise/Online environments.

Image from Esri
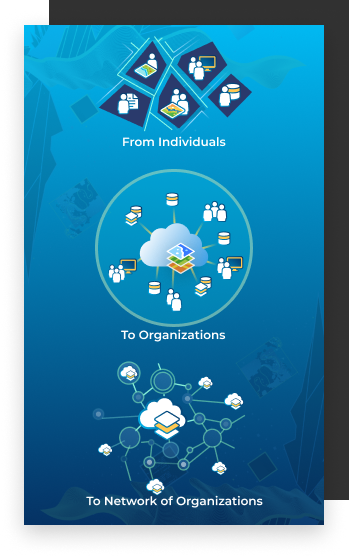
With distributed collaborations, there are many different patterns to take advantage of ArcGIS Enterprise, ArcGIS Online, or a combination of the two. This allows users to implement this action in a way that best suits their needs. While determining how to use this function for your organization, consider the following two common patterns. First is the collaboration between two ArcGIS Enterprise/ArcGIS Online organizations, and the second is a collaboration between multiple ArcGIS organizations with one central organization. Let’s get started with setting up our Distributed Collaboration.
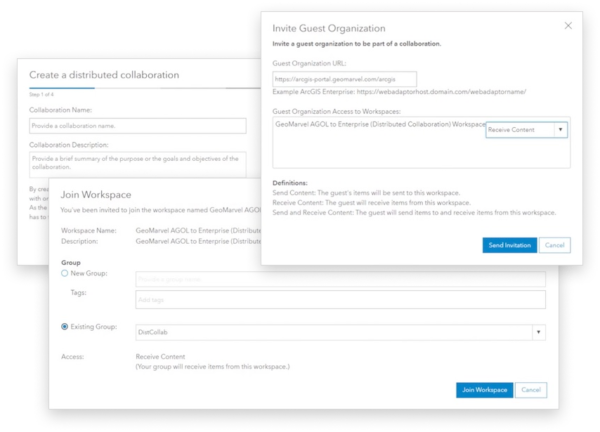
In order to share your content through a distributed collaboration, users must first complete a series of steps:
If multiple workspaces are needed, the host can create additional workspaces upon the next synchronization.


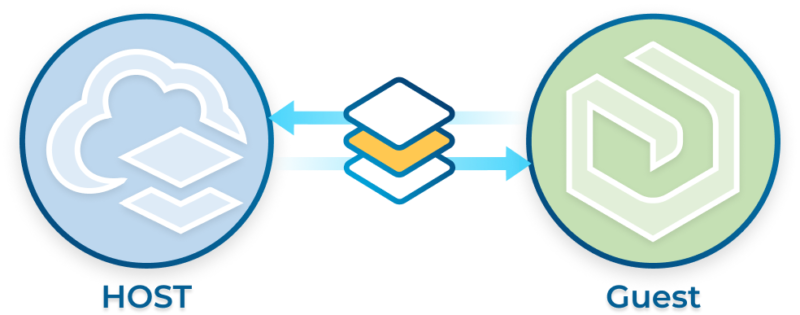
Before a distributed collaboration can be established, active participants need to be identified. Starting off, the users who initiate the collaboration and send the invitations are identified as the host, while all other participating parties are guests. Guests can only be invited to the collaboration by admins. Only the admins within your organization have this ability. Learn more about administrative privileges and responsibilities. Whoever is the host of the collaboration, is also responsible for managing the collaboration and its workspace. Once trust between the parties has been established, content can then be shared.
This has been a brief overview of Distributed Collaborations. Make sure to check out the full demonstration video above, as our Solution Engineer, Dalton Bloom, provides a step-by-step demonstration on how to establish your own Distributed Collaboration. We hope you found this to be both helpful and informative. If you have any further questions or suggestions for future content you would like us to review, drop a comment on any of our social media platforms.
Are you ready to start leveraging distributed collaborations to share your data & content? Reach out to our industry experts to start a conversation and see what GeoMarvel can do for you!