Workforce for ArcGIS is a platform designed for field work optimization. Dispatchers in the office can create and assign tasks to Mobile Workers to complete in the field. Commonly used for inspections and service requests, Workforce offers real-time awareness to streamline field to office workflows.
Let’s walk through the process of setting up Workforce for ArcGIS, and creating your first assignment from a feature in the map.
Assignment Creation Walkthrough
Begin by going to workforce.arcgis.com to sign into your ArcGIS Online account.

Once signed in, you’ll be directed to a page displaying your existing projects, if you have any. Next, choose “Create Project” to begin designing your very own Workforce project.
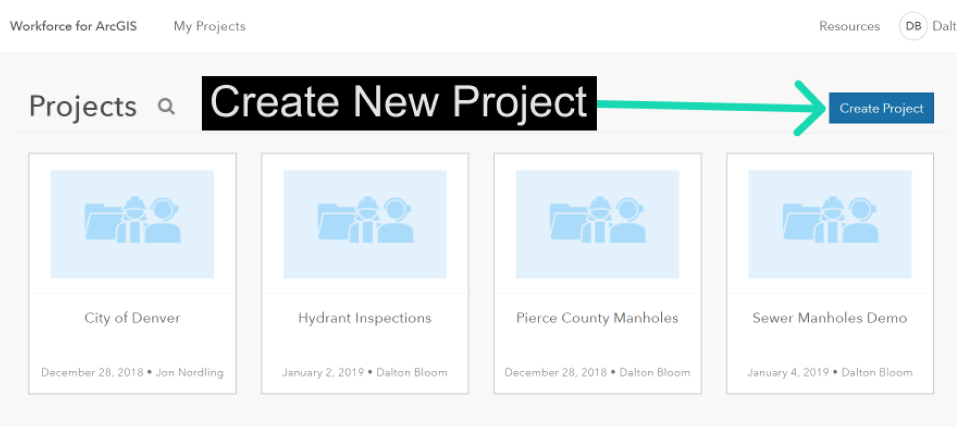
Pick a project name and summary to define exactly what the project will entail. Once all desired details have been added, click “Create Project” to continue.
Within another level of project details, you’re now able to edit the dispatcher & worker maps, determine assignments types & user roles, and integrate Workforce with other esri apps. Let’s begin by determining which assignment types are needed for the project.
At the bottom of the “Assignment Types” tab, you’ll find the option to “Add an Assignment Type”. Choose assignment types that best fit the project tasks to be completed. In our example project relating to sewer manholes, our assignment types will be “Manhole Inspection” and “Manhole Replacement”. Once all assignment types have been determined, continue on to the “Users” tab to set the project’s user roles.
Moving on to the “Advanced” tab offers a few more bells and whistles, like app integration. Integrating other esri field mobility apps offers the potential to power up your Workforce application. Collector for ArcGIS enables Mobile Workers to create their own assignments on-the-fly while they’re in the field. Explorer for ArcGIS enables you to take your maps with you, wherever you go. Navigator for ArcGIS is enabled by default, and allows for custom routes when navigating your crew to a given feature within the map. Survey123 is also available for integration, facilitating in-depth questionnaires. From inspection data to features within the map, Survey123 lets you ask your most important questions.
The other option within the “Advanced” tab is “Location Tracking”. By enabling location tracking, Dispatchers will be able to track Mobile Workers in set time intervals, which can range from refreshing every 30 seconds, 15 minutes, or anywhere in between.
Navigate to your Workforce projects homepage, and find the desired project to configure. Then select “Dispatcher map” to open the map and editing capabilities.
Next, let’s add some data to our project. The Dispatcher map allows you to add data from a variety of places, including ArcGIS Online, any of your online content, or from files on your computer.
Let’s search for data within ArcGIS Online. Start by selecting the “Search for Layers” option, under “Add”, to add data from ArcGIS Online.
With the “Sewer_Manholes” feature layer now added to the map from ArcGIS Online, save changes made to the Dispatcher map, then close the map. After closing the map, the “Overview” tab offers the option to open the project. Click “Open Project” to continue on and open the map.

Opening the project will display the map view and any existing tasks assigned to Mobile Workers. New projects will show no current assignments, and instead will ask you to create your first one.
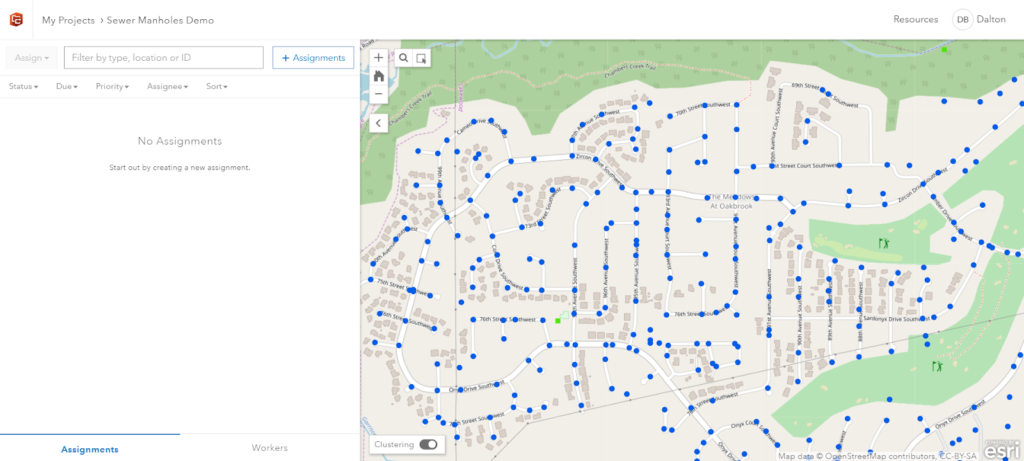
Now it’s time to create an assignment from a feature in the map. With the “Sewer_Manholes” feature class visible in the map view, simply click on your desired feature to begin creating an assignment. After selecting a feature, click “Create Assignment” at the bottom of the pop-up. Then a side panel will appear allowing you to add more details to the assignment.
Determine the assignment type, which Mobile Worker to assign it to, the assignment priority level, and when exactly the assignment is due. Optionally, a description and attachments (images, video, documents) may be added to each assignment for further detailing. Once all desired details have been added, click “Create Assignment” at the bottom of the page to finalize the assignment for the chosen Mobile Worker to complete.
We’ve now covered how to sign into Workforce for ArcGIS and create your first project. After successful project creation, we’ve also learned how to add assignment and user types to the project. In the end, you now know how to create assignments based on features within the Workforce map.
Get Support
Have more questions or looking for further Workforce for ArcGIS support? Contact our industry experts to start a conversation today.